Proposal: My original idea for my final project was to create a T-Rex model, rig it, and animate the. The animation was going to be a walk cycle and a recreation of the moment when the T-Rex escapes the paddock in Jurassic Park.
Pre-production: Storyboards based off my original proposal:


I quickly realized that I would not have enough time to completely create and rig my own model and also have enough time to make an animation anywhere near what I desired, so I decided to use a free rig that I could find online. The first model I chose, however, did not function the way I wanted it to, and so I looked a bit longer and went with a different model instead. This model is not actually a T-Rex, but rather the Indominus Rex (I-Rex) from Jurassic World. It is similar enough in anatomy to the T-Rex, so my storyboard still applied.
For texturing and shading (this is the part that is also my shading assignment for the class), I used relatively simply textures for most of the objects since many of them are flatly colored objects. The exceptions to this are the ground and crater walls, which use a mountain texture (see picture below this paragraph), as well as the I-Rex's skin, which is an image texture that is repeated. The trees in the background are actually a Maya paint effect that I just copied and pasted many times.

Production: To help with my animation, I found a walk cycle for the I-Rex created by ILM for reference. My goal was not to copy their walk cycle, but rather study it to pick up certain concepts and movements that I could use in my animation, while making my own personal choices and adjustments. I also gathered a music clip from Jurassic Park (found here), as well as two different videos of isolated I-Rex sound effects from Jurassic World (found here and here), to use when editing my video.
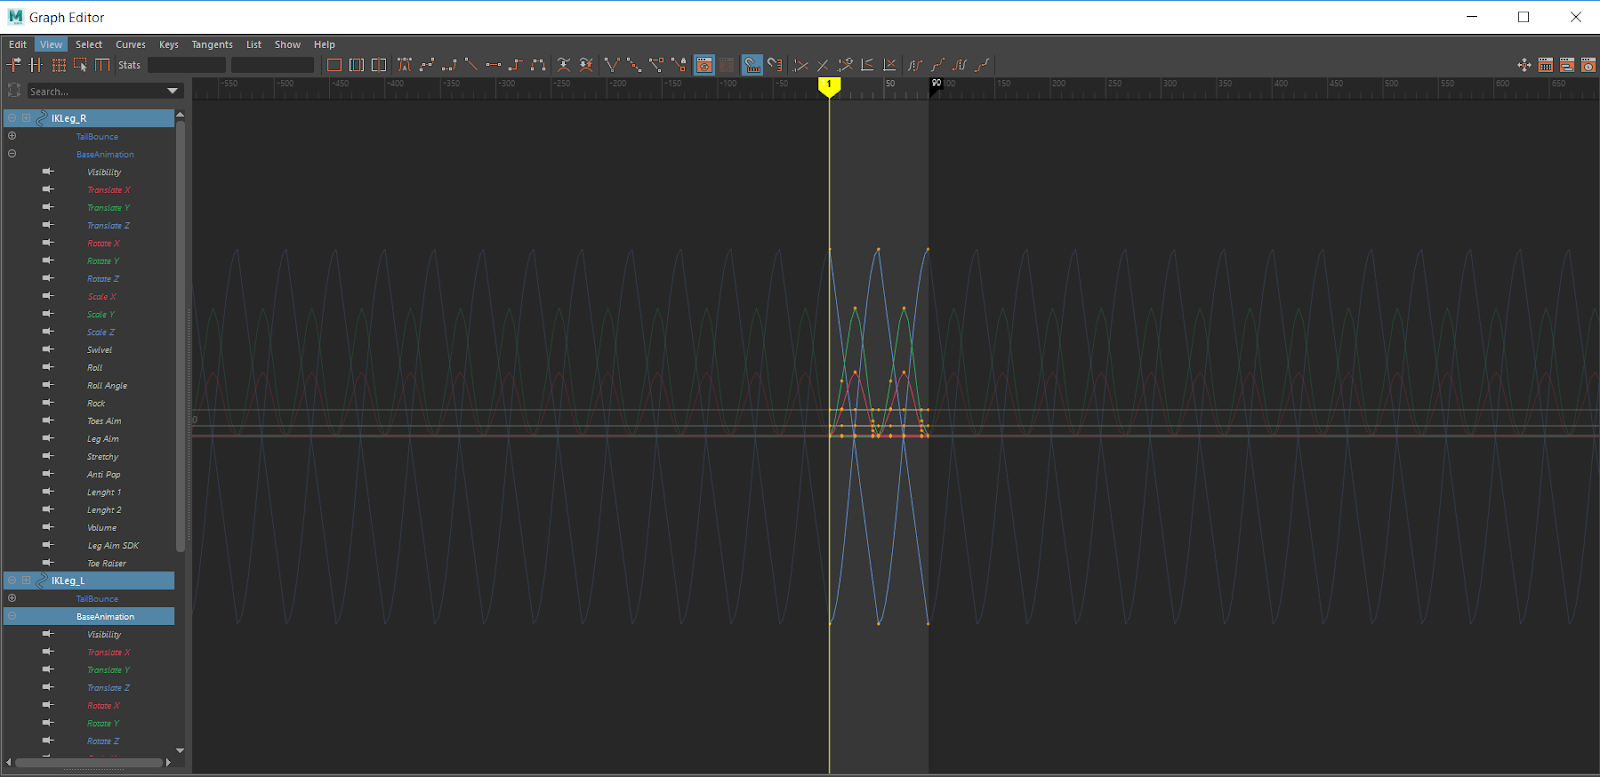
The first few scenes use the walk cycle that I made. To do this, I made 5 key poses: 3 contact poses and 2 passing poses. Then I started to add more details to the frames in between; Making the tail bounce up and down (this included the use of an animation layer) while also moving side to side, making the head and hand bounce with each step, making the stomach fat jiggle with each step, etc. The cycle took place over 90 frames, so to extend it, I selected all of the curves in the graph editor and used the Curves > Pre-Infinity > Cycle and Curves > Post-Infinity > Cycle tools to loop the animation for however long I extended the timeline. I then had to make the I-Rex move forward without sliding, which was again accomplished with the graph editor. The model moved along the Z-axis, so on each foot I took the part of the Z-axis translation that was sliding it across the ground and made it a linear tangent. Then, I selected the model's main control, moved it forward at the same rate that the feet moved (in this case 700 units over the 90 frames), and made that a linear tangent as well. This meant the model was always moving at the same rate as the feet while they were sliding back, making it appear as though there was no sliding at all. To loop the model's movement, I repeated the process from earlier, but chose the "Cycle with Offset" option instead, which kept the model moving forward rather than going back to the 0 position every 90 frames.

For the last scene, I more or less did the same thing, although there was a lot more straight-ahead style animating rather than key posing, largely because I changed the idea for my final shot on the spot when I realized I would not have the time to go with my original idea. This meant I could not follow my storyboards for that portion of the animation. For the first part of the scene, I tried to make it as visually interesting as possible and make it truly seem like the I-Rex was breathing in deeply to catch the scent of whatever left those feathers. I also tried to time the final roar with a sound clip I already had in mind, but for most of the other sounds I tried to find and edit clips to best match the animation.
Self-Evaluation: Overall, I am very pleased with how the project turned out. Both the walk cycle and the close-up shot turned out better than I thought I could make them. The process of editing was more enjoyable than I initially thought it would be, and I would like to practice more with it and see how it could enhance my animations. Also, I think that story of the animation is interesting enough that I could expand further upon it if I wanted to, such as doing going back to my original idea for the final shot as well as making additional shots, such as the I-Rex encountering this mystery creature. There are things that I definitely could improve upon and mistakes that I can learn from.
I made two key mistakes in the animation; one that made animating the scenes more difficult and one that is visible in a couple of the shots. The first mistake was that many of my animations were initially made in too small of a time frame relative to the size and weight of the creature that I wanted to showcase. This was because I kept dragging the slider across the timeline to preview my animation rather than playing the animation due to it being choppy. This resulted in me having a skewed view of the speed of my animation. To fix this, I used the Key Scale function to move the keyframes to different points and essentially spread them out. The second mistake was that I kept forgetting that blinn textures are inherently reflective, and in some shots the creature's eyelids reflect the background. I had rendered those shots before I noticed the mistake, and due to time constraints I did not re-render them.
There are also some changes to my animation process that I can make. I feel like I should use Key Poses more in order to give me tighter control over the animation and make the process more efficient. I also probably should have given myself more time to make the animation so that I don't feel as rushed, but in this case I wasn't exactly sure what I wanted to do for my animation until later on. Finally, I need to improve on my lighting, shading, and rendering in order to make my animations look even better. But again, even with all of these things, I am still happy with the animation that I was able to produce.


